 Tweet
Tweet
Hi All,
Thought it would be useful to share my experience with prep'ing and painting the new TJM Bull Bar, lots of photo's especially of the "wings" as I know there has been a few comments about quality and them not wearing well...
Firstly: There is NO WAY I could have done this without the help (more like lead) of fellow PradoPoint member "Nigelgillett" who happens to be a paint specialist who's good on the spray gun.... Thanks Nigel.
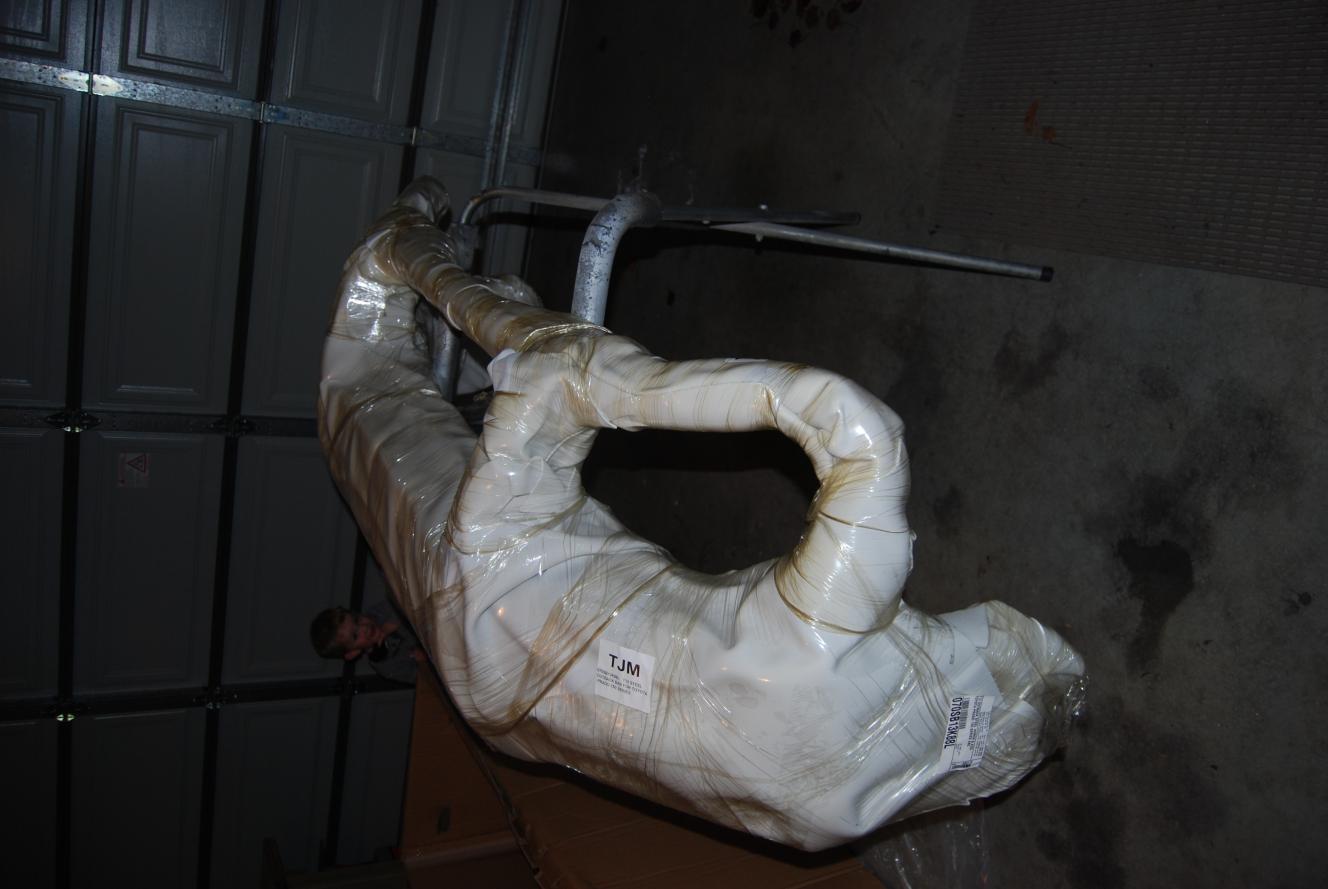
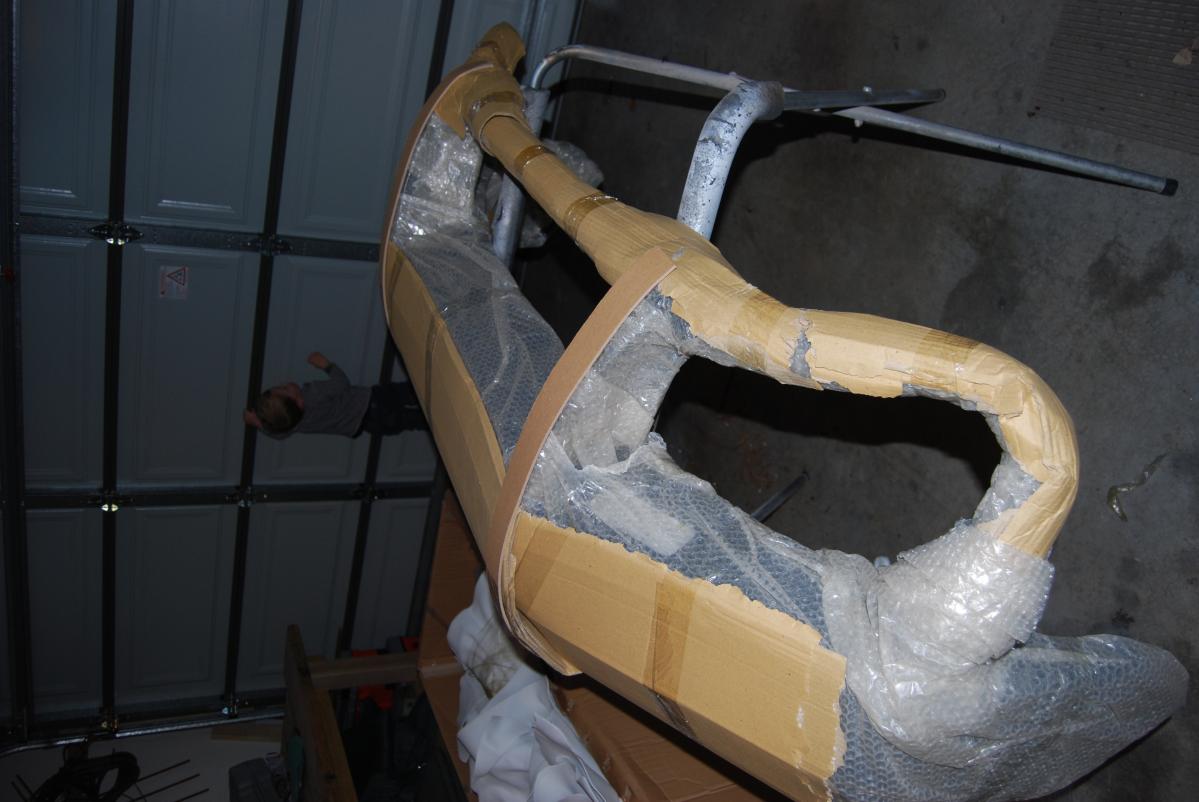
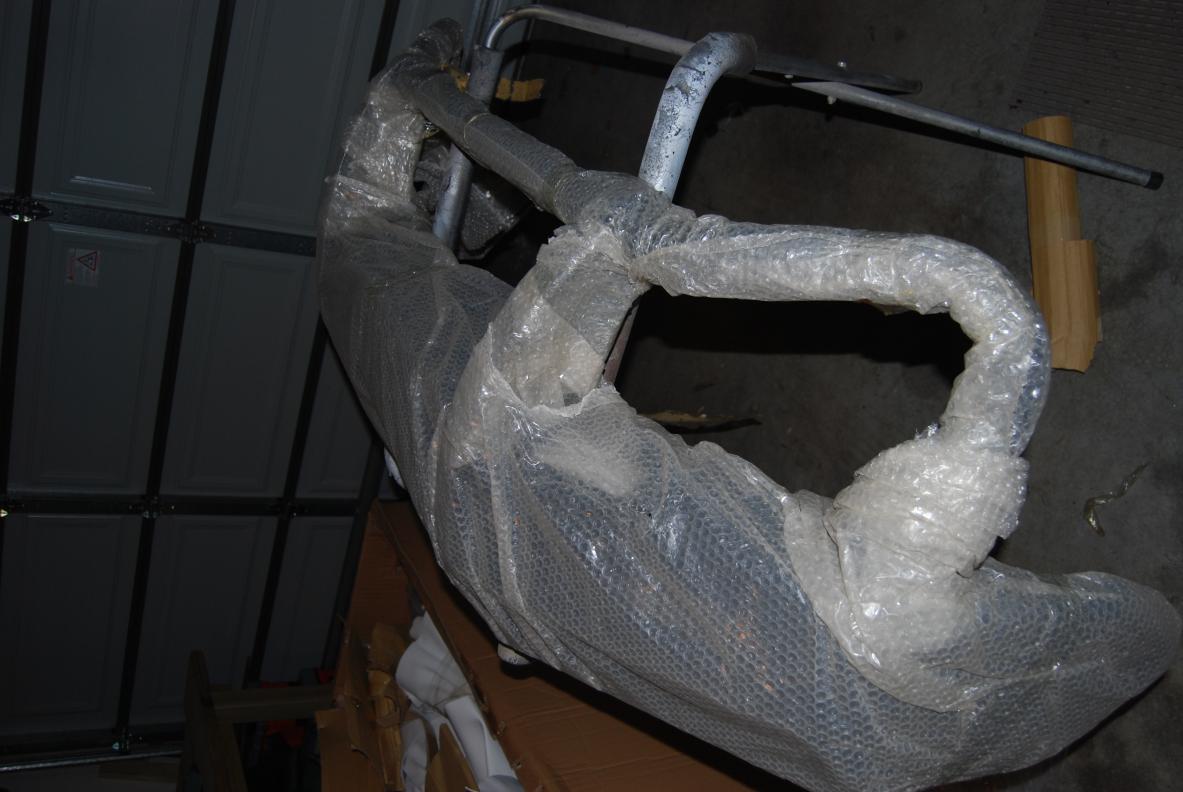
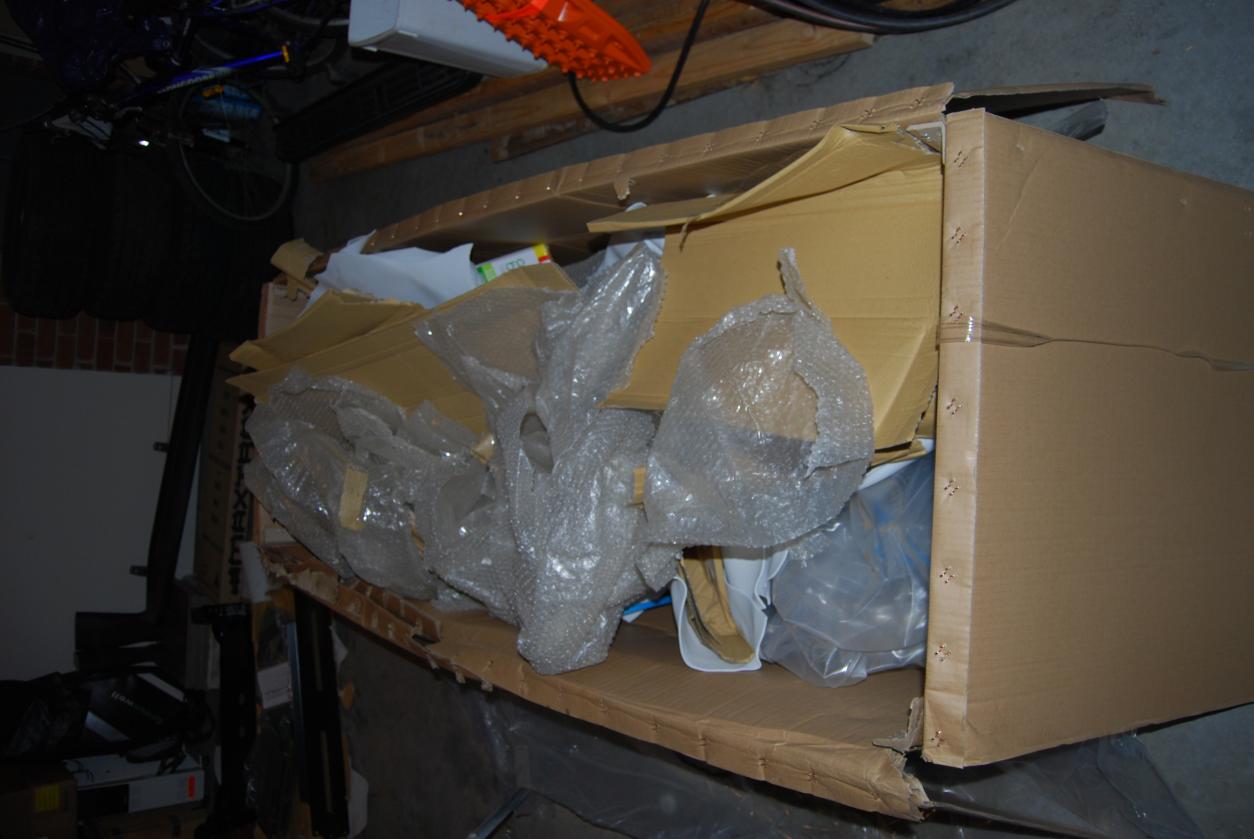
Un Packing:
TJM do an awsome job of packing, there was a layer of plastic wrapping, then this leather type material, then cardboard, then finally bubble wrap....bar was in pristine Black Powder Coat Condition.

Cont....
Thought it would be useful to share my experience with prep'ing and painting the new TJM Bull Bar, lots of photo's especially of the "wings" as I know there has been a few comments about quality and them not wearing well...
Firstly: There is NO WAY I could have done this without the help (more like lead) of fellow PradoPoint member "Nigelgillett" who happens to be a paint specialist who's good on the spray gun.... Thanks Nigel.
Un Packing:
TJM do an awsome job of packing, there was a layer of plastic wrapping, then this leather type material, then cardboard, then finally bubble wrap....bar was in pristine Black Powder Coat Condition.
Cont....
Comment