 Tweet
Tweet
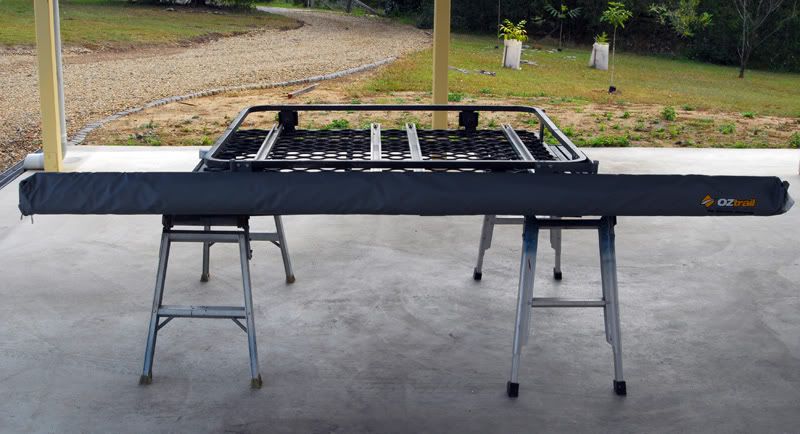
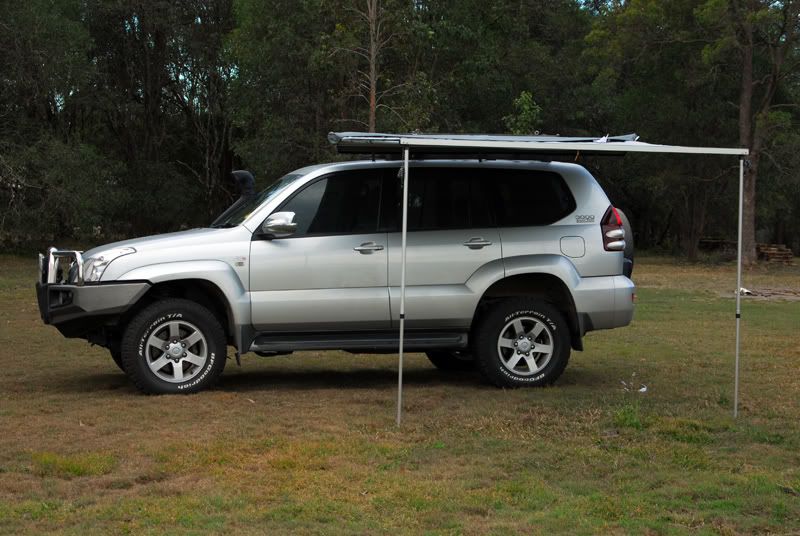
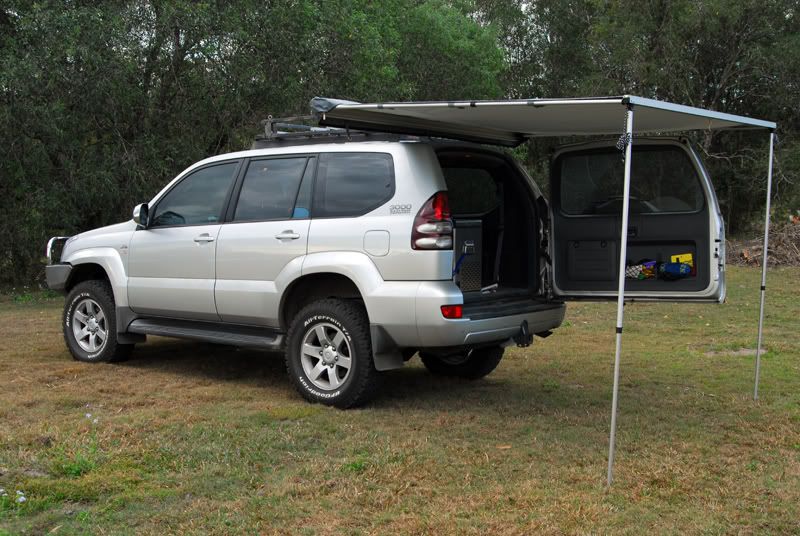
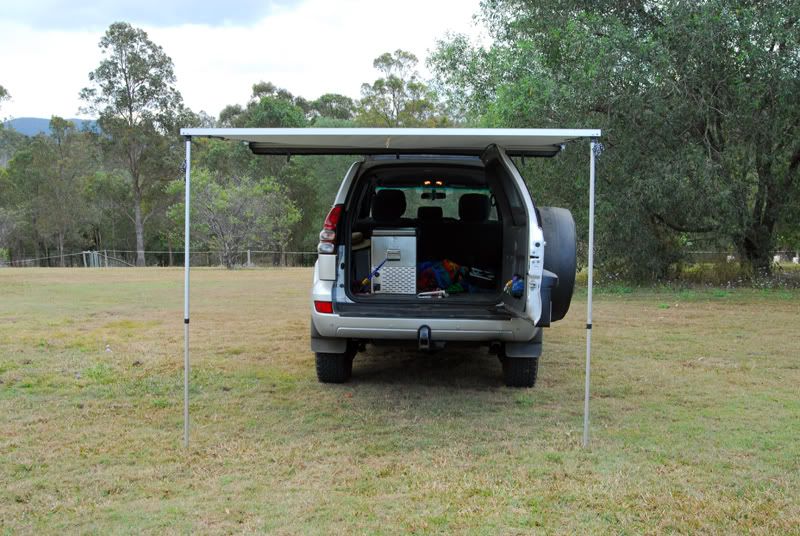
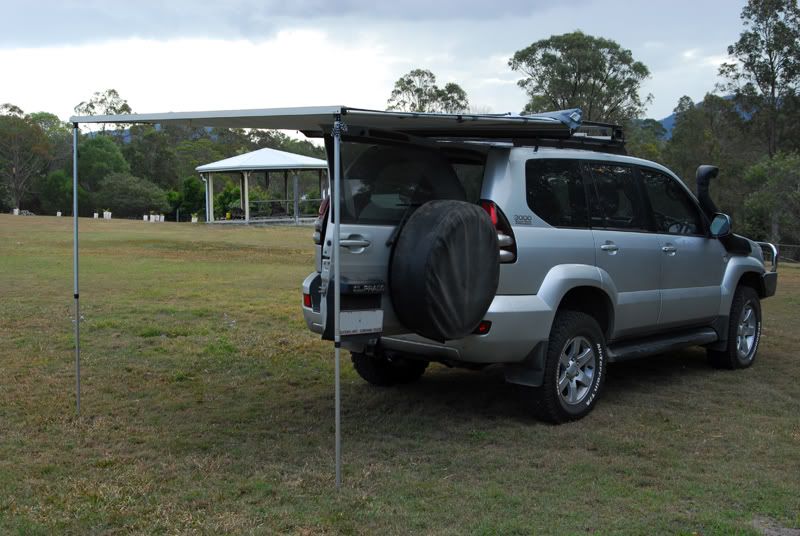
OK I had a bit of time this weekend and made up the bracket set to allow me to swing the awning around the back when we are parked. The bracket details are pretty much irrelevant unless you have the same roof rack but the principle can be applied to pretty much any rack arrangement.
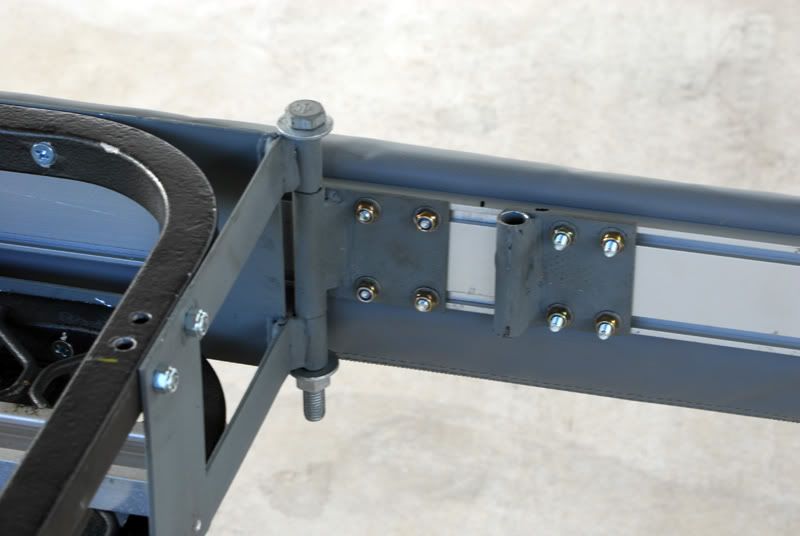
The rear mount is offset to allow the awning to pivot without interference. That mount is made up of flat ms and erw tubing. An M12 gal bolt provides the pivot pin. The awning mount that is held by the pivot pin is not fixed to the awning but is mounted on long T bar sliders which allow the awning to slide back and forward. The T bars are in place of the T bolts and by virtue of their length they allow the awning to slide back and forth freely while still being bolted up firmly enough to stop rattling. The T bar sliders are aluminium flat (at the moment) tapped M6 with M6 studs loctited in the holes. Nyloc nuts on the outside finish the job. This is the key to getting the awning to rotate around the back.
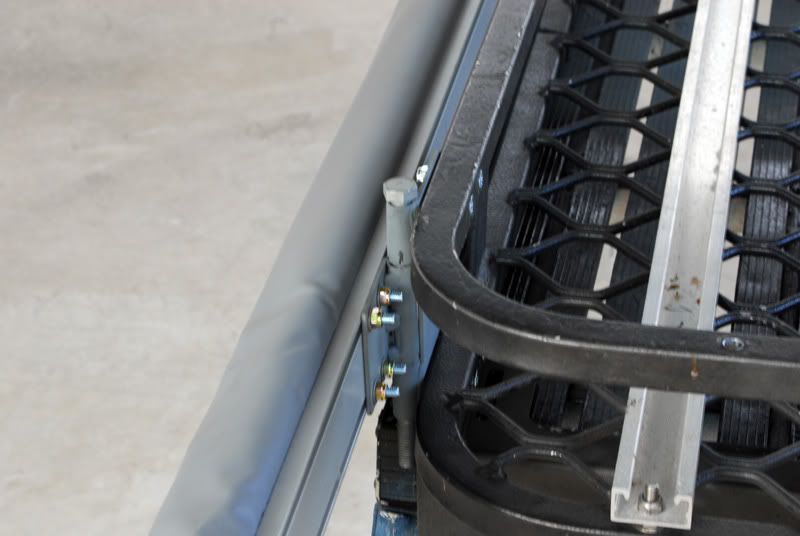
On the front LHS and rear RHS I made up a simple bracket that allows a 12mm diameter pin (another M12 bolt at the moment) to lock the awning in place. This pin will be secured with a lynch pin or key ring depending what I can find that is suitable. Remove the pin, slide the awning backwards and then pivot the awning until the brackets line up on the rear and then insert the 12mm pin again to hold the awning in position.
Still a few things to do like paint the brackets. Cut the M12 pivot bolt to length and fit it with a nyloc nut (thought I had one in the box of nuts and bolts but alas not!) and make up the 12mm pin. I will try and get some thicker material for the T bars to make this a bit more secure. May have to go to gal steel flat so I can weld the studs into place and not rely just on loctite. I didn't get any shots fitted to the car because it started raining about lunch time and drizzled for the rest of the day. After I paint the brackets and finish off the bits and pieces I will set it up and take some more photos.
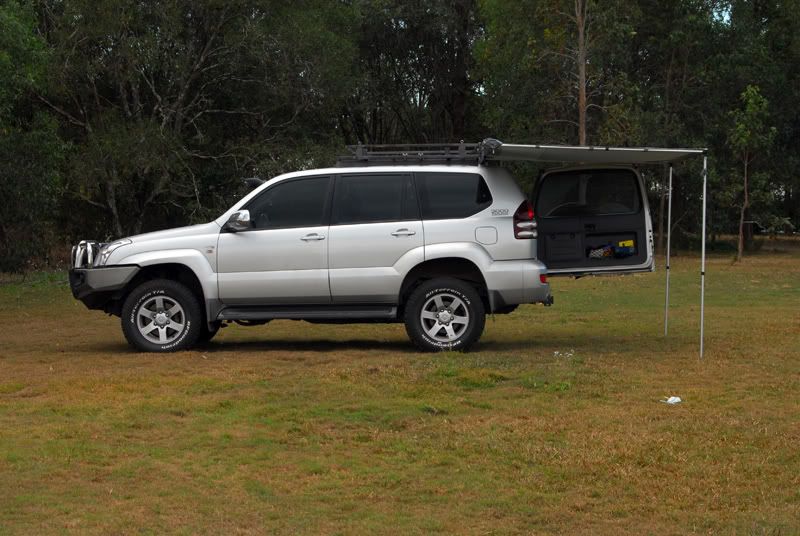
Anyway some pics:
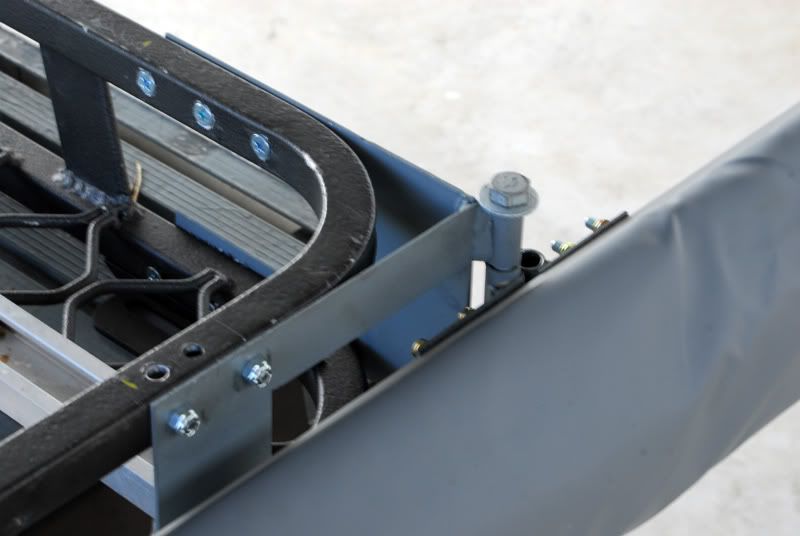
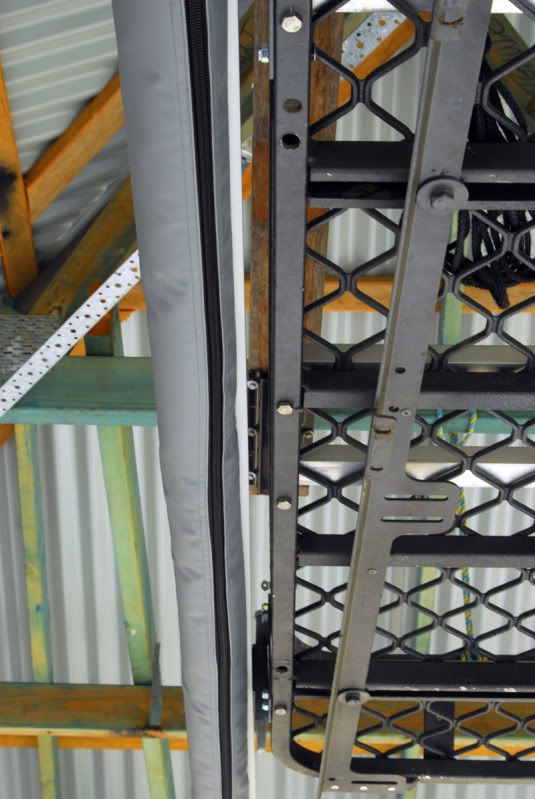
This is the offset bracket with the awning in travel/LHS position.
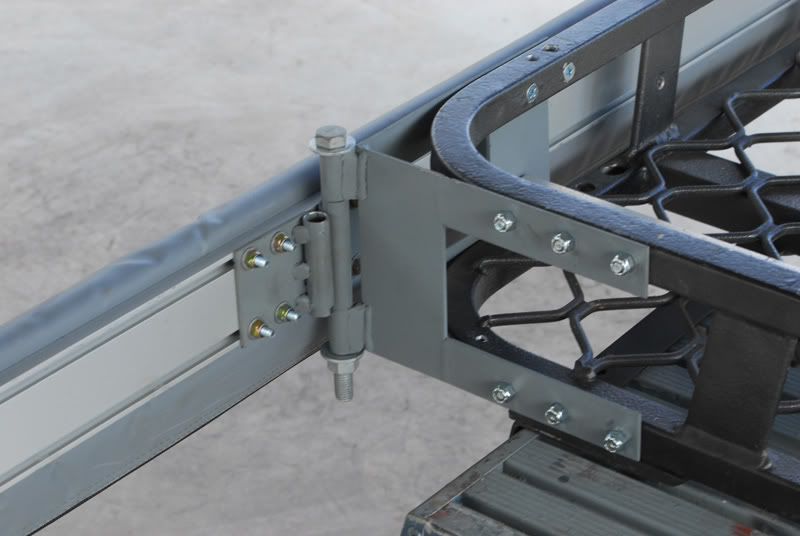
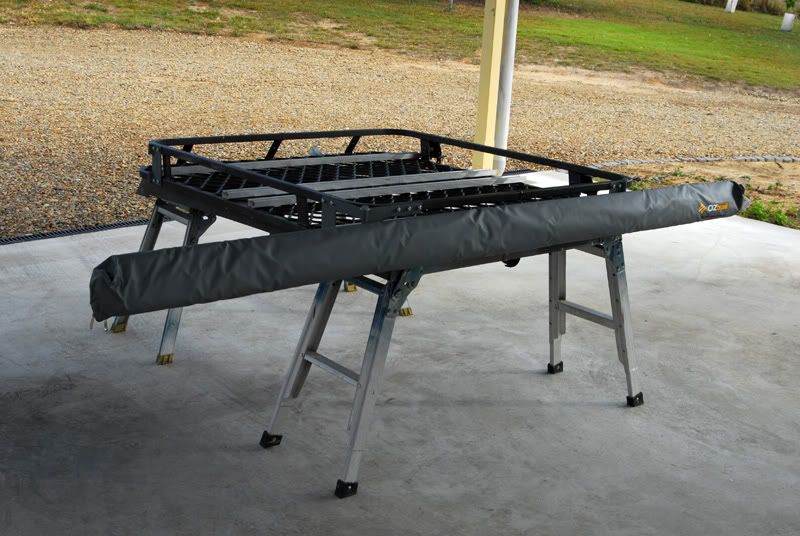
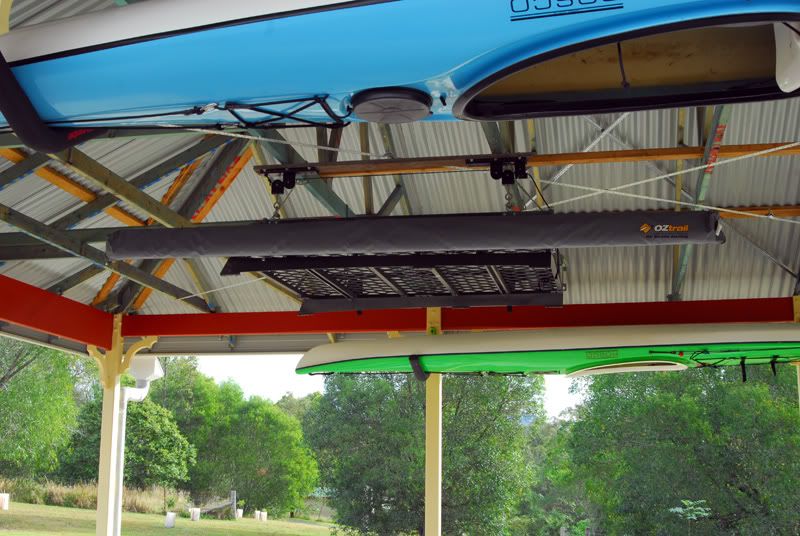
This is the bracket from the back. The 'spare' bracket on the awning fits into the rear bracket when the awning is rotated.
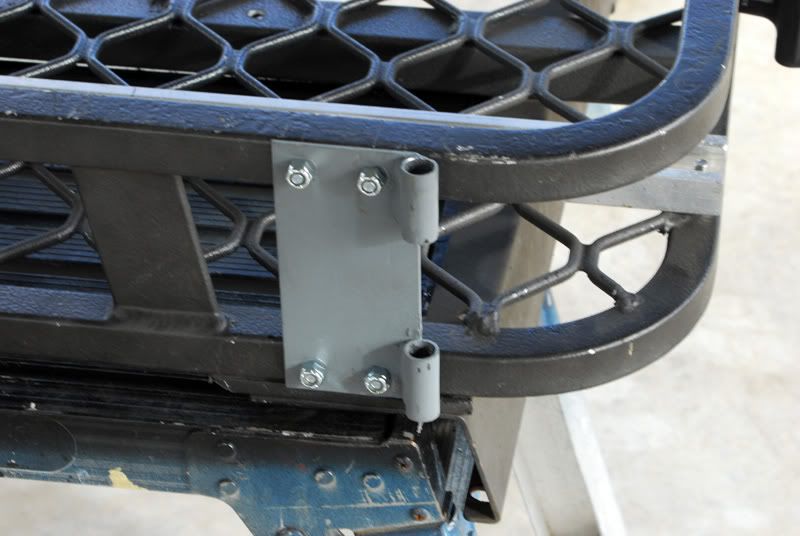
This is the rear bracket.
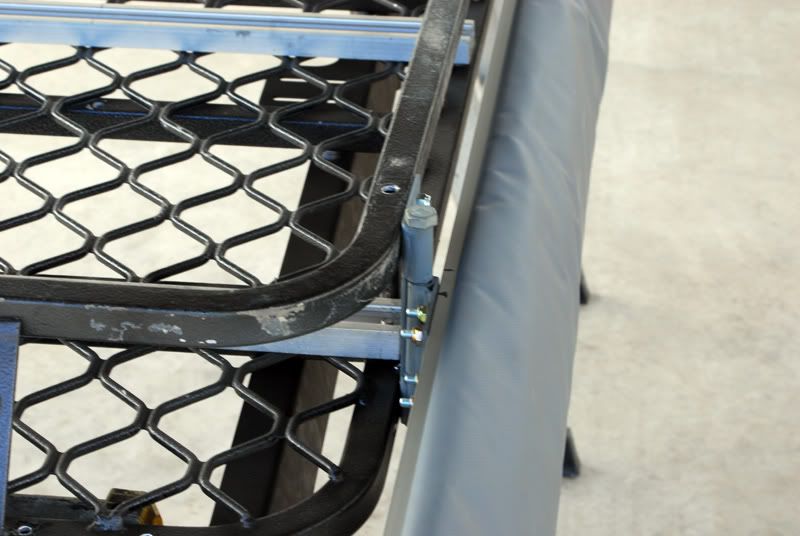
This is the equivalent support at the front.
The rear mount is offset to allow the awning to pivot without interference. That mount is made up of flat ms and erw tubing. An M12 gal bolt provides the pivot pin. The awning mount that is held by the pivot pin is not fixed to the awning but is mounted on long T bar sliders which allow the awning to slide back and forward. The T bars are in place of the T bolts and by virtue of their length they allow the awning to slide back and forth freely while still being bolted up firmly enough to stop rattling. The T bar sliders are aluminium flat (at the moment) tapped M6 with M6 studs loctited in the holes. Nyloc nuts on the outside finish the job. This is the key to getting the awning to rotate around the back.
On the front LHS and rear RHS I made up a simple bracket that allows a 12mm diameter pin (another M12 bolt at the moment) to lock the awning in place. This pin will be secured with a lynch pin or key ring depending what I can find that is suitable. Remove the pin, slide the awning backwards and then pivot the awning until the brackets line up on the rear and then insert the 12mm pin again to hold the awning in position.
Still a few things to do like paint the brackets. Cut the M12 pivot bolt to length and fit it with a nyloc nut (thought I had one in the box of nuts and bolts but alas not!) and make up the 12mm pin. I will try and get some thicker material for the T bars to make this a bit more secure. May have to go to gal steel flat so I can weld the studs into place and not rely just on loctite. I didn't get any shots fitted to the car because it started raining about lunch time and drizzled for the rest of the day. After I paint the brackets and finish off the bits and pieces I will set it up and take some more photos.
Anyway some pics:
This is the offset bracket with the awning in travel/LHS position.
This is the bracket from the back. The 'spare' bracket on the awning fits into the rear bracket when the awning is rotated.
This is the rear bracket.
This is the equivalent support at the front.

Comment