Yep - I got mine done as well this week. Same specs as Fishnut. I was spotted in WA Suspensions by Russ.
I didn't have the time to look at installing it myself so I got the pro's to do it. Although it seems from Leachy's experience - that doesn't mean a correctly done job.
Certainly agree - ride seem good. Can't wait to get onto some 'bad' conditions.
Finally got some photo's together, although not as indepth as chippys post, I don't think there's really much more to be said!
Kit installed: ATS ridepro/bilstein combo Time: 6hrs included lost nut searching, a couple of stuff ups and lunch Man power: 2 Tackled first: Front (hardest first in case a visit to pedders was required on a saturday morning to do the struts) Measurements before: FDS=495mm FPS= 490mm RDS= 540mm RPS = 550mm Measurements after: FDS=555 FPS=560 RDS= 600 RPS= 600 (Measurements taken from centre of rim to top of gaurd)
Step 1. Print out and follow this thread and get as much info as you can!
You need to make sure you've got all the right gear otherwise you might as well forget it. As a minium you need a trolly jack, stands and some kind of spring compressor, ring spanners, socket set and allen keys (for billies). Oh and be prepared to lose some skin and patience at times.
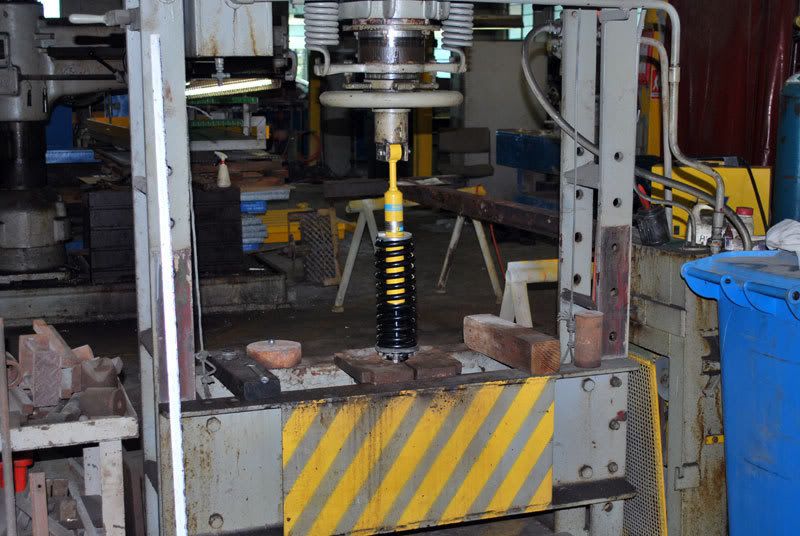
We also had a bottle jack for a couple of fiddly bits, a rattle gun and a hydraulic press to compress the springs. If you can get your hands on a rattle gun, this will save you bucket loads of time.
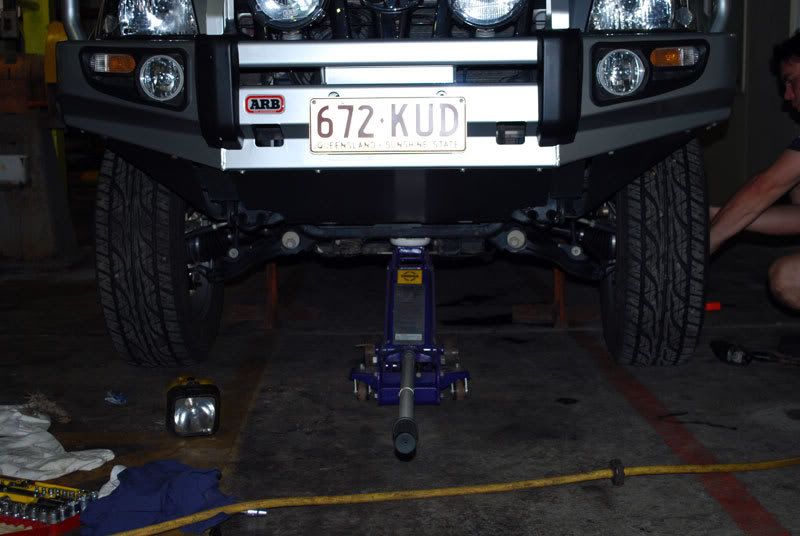
Bash plate off, jack in and wheels off
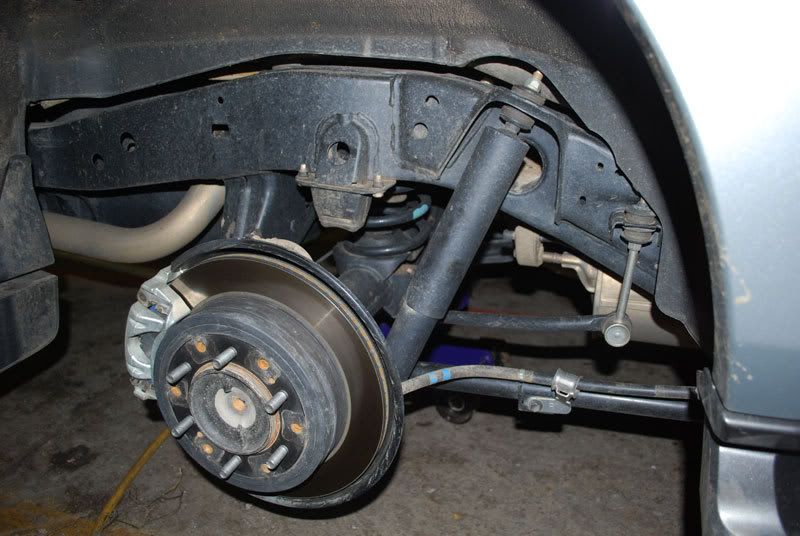
Struts, sway bar and front bash plate out
Putting new struts together by re using the top plate off the old struts.
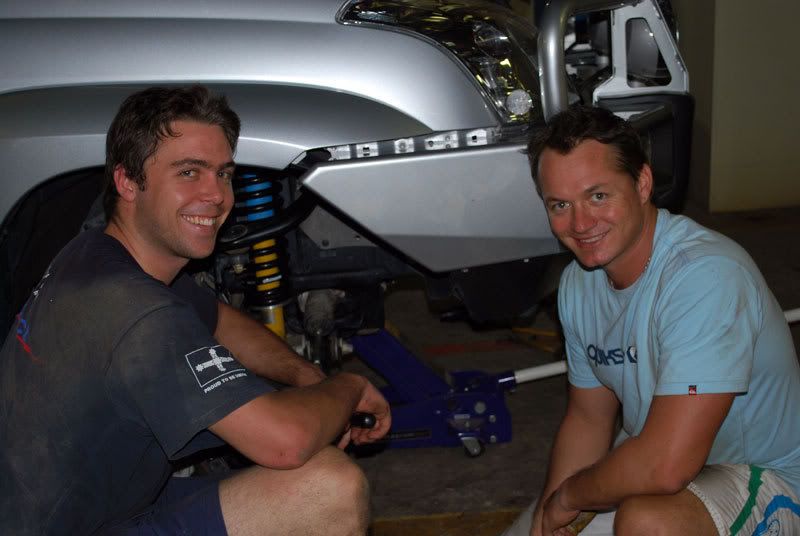
A couple of clowns posing with the strut in
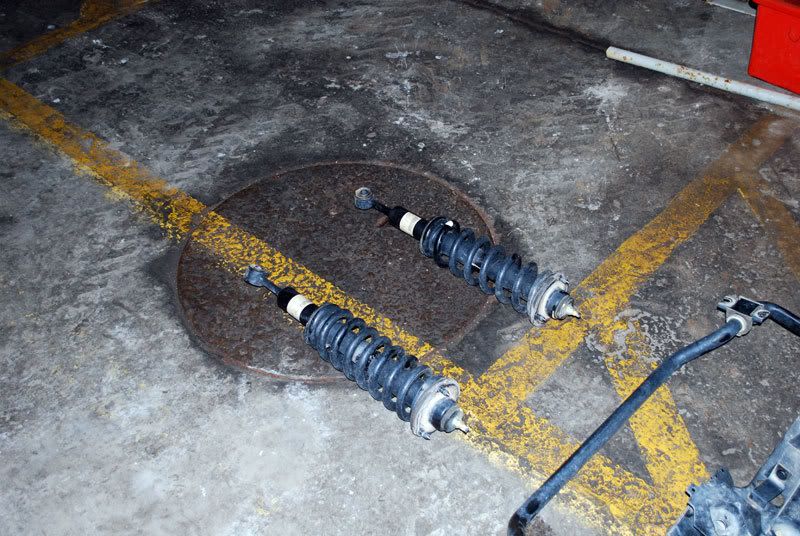
The back was a walk in the park after the front, although we had to disconnect the rear sway bar to get the old springs out and get the new ones in. (shot taken before new stuff went in.)
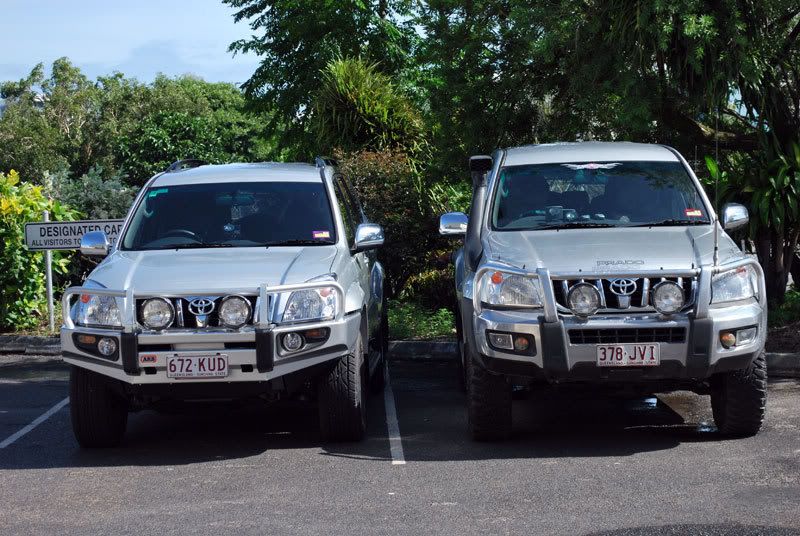
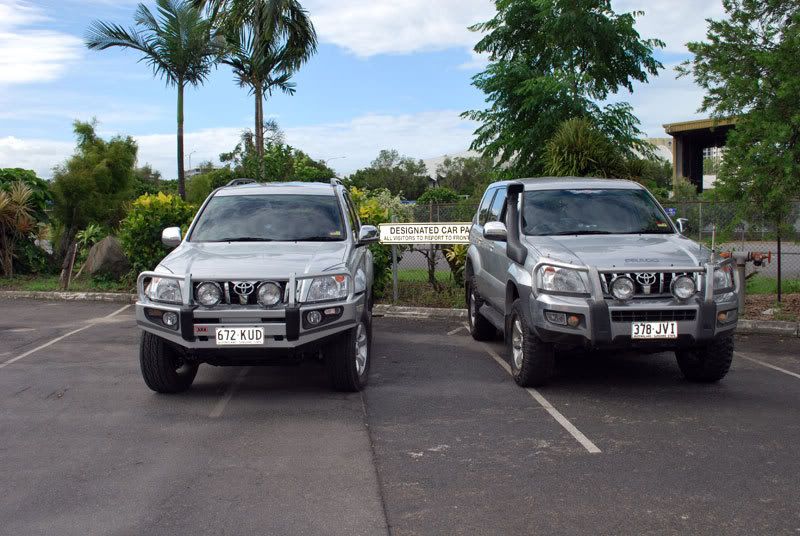
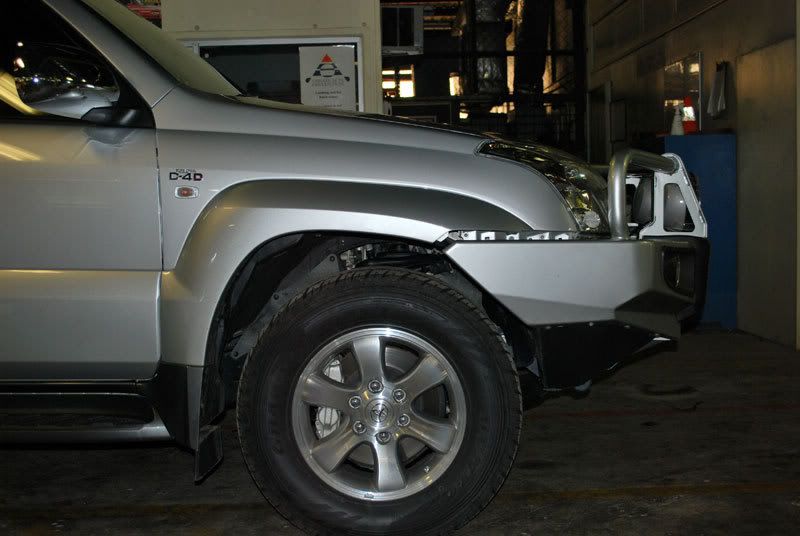
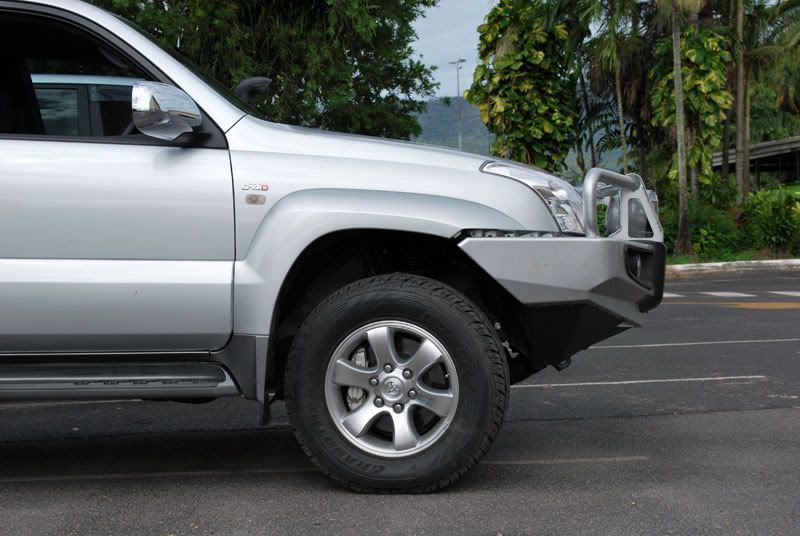
Before and after comparo with Joey's stilted beast. Joey runs kings/bilstein combo and the larger STT's
Before and after front
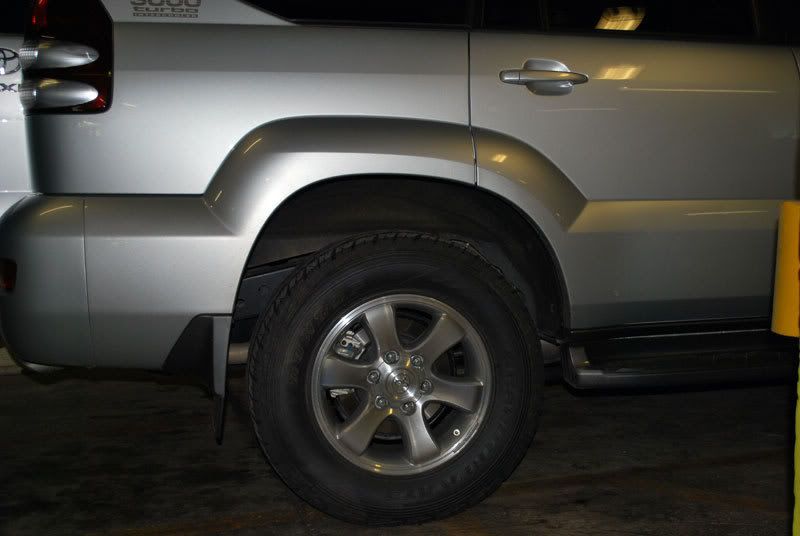
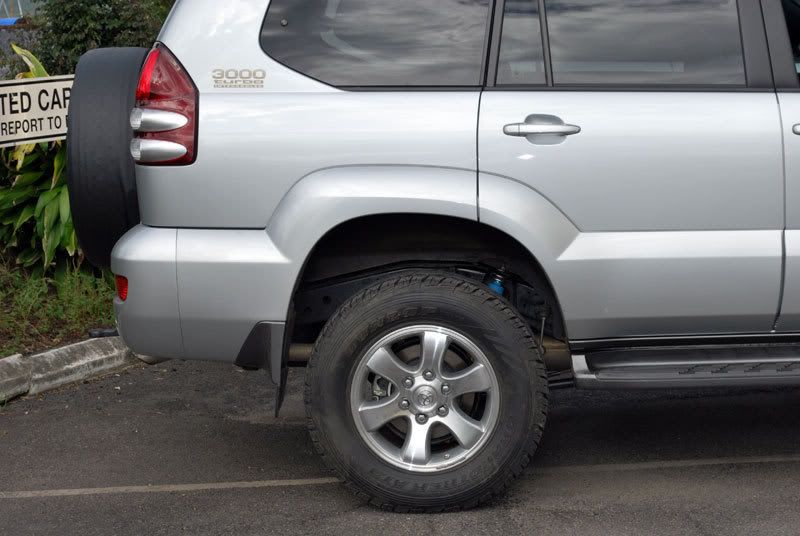
Before and after rear
Overall side shot
One thing I was pretty amazed by with the bilstein struts is the circlip that the spring base sits on, it's got me stuffed how it holds all that pressure :shock: It's so easy to remove and relocate and they basically hold the car up at the front.
Care must also be taken when dealing with loaded springs and working under a jacked up car. Make sure you use stands under the chassis rails front and rear. We left the jack in for added security.
We had a couple of small dramas where we forgot to put a couple of bits in the front struts and had to pull them back apart! ops: And also a pair of buttered fingers lost one of the top strut nuts in the engine bay somewhere. This resulted in another bash plate off and a lot of head scratching as to where the bloody hell it went... It was eventually found after I somehow knocked it from where ever it was sitting and it hit me fair in the forehead. :lol:
Anyway thanks to this thread Joey and I attempted something that we've never done before on our own. If we can do it anyone of you guys reading this can, provided you've got the right equipment.
Good luck to anyone attempting this mod... It would have to be one of the most rewarding for the novice installer.
yes it was certainly a good day and we done well.... yes i did loose that nut in the engine bay and it cost about one hour , but at the end of the day it showed with good information and instructions, you can do these modifications and save yourself a few bob+ learn about how your rig operates if you ever encounter issues in the future...
top day....joey
Featured - issue 140 Australian 4wd Action.
-issue 52 Modified 4wds .
Locked ,Lifted, boosted Brut---"Pradzilla".
[IMG]http://i236.photobucket.com/albums/ff268/bigfryy/_0481154045-2.jpg[/IMG]
Great job guys. Good to see another DIY. With regards to the circlip when the spring seat goes down it actually encloses the clip so that it cant open to slip down the strut. That was the problem we had with Leachys, some dip stick put the seat on upside down. The clip was holding the car up!
Great job guys. Good to see another DIY. With regards to the circlip when the spring seat goes down it actually encloses the clip so that it cant open to slip down the strut. That was the problem we had with Leachys, some dip stick put the seat on upside down. The clip was holding the car up!
Matt
I guess with all the force on it it's not going to go anywhere either. I still thought it would get flogged out but it'd be held in that hard that it wouldn't move at all.
I've read on here about guys changing the position of the circlips, I thought while on the car? How do you move them while the strut is in the car? I would've thought you'd need to compress the spring and slide the base up to get to them, which means you'd have t pull the struts out...
No, out of the car. It's not that bigger deal. I do this junk for a living so it doesn't take too long. It's doesn't compensate for overloaded springs but is a good way of slightly raising your car if you like the current spring rate. Mine and Leachy's have a sovereign bar, winch and batteries and I have HD king springs and he has HD Lovells. Both felt about the right stiffness but just a little nose down so they're both on the middle groove.
Hey Matt thanks for the info.. I thought it may be the case to pull them out. I also have mine on the middle groove as advised by the suspension supplier and seems to be the goods.
Gday to all.Just did my install of arb springs and shocks ,love the new ride.Just thought Id throw in my 2 bobs worth.Firstly took note that I might need extra hands for rear end but couldnt find any so in order to drop out the springs without undoing the panhard/swaybar I just used the jack from the car, sat it on the axle and wound it onto the bump stop to drop the axle just that little bit for the spring to be loose enough to drop free,it took hardly any effort and i could have just wound it with my fingers no crank.Secondly being a lazy pratt on, the front end I found no need to drop the steering link as I found that by dropping the bottom of loose strut towards the front of the car the top can be fed between the brake hose etc and the wishbone if the steering is on full lock towards the opposite side of the car.In hindsight i reckon that you might get away with leaving the swaybar and subsequently the bash plate on.Any way I hope this makes sense and could be of some use to someone.P.S hardest part of the job by far is getting the inner top nut off the strut tower as its in a bitch of a spot to get at!!!!
Armed with the "how to" guide in this thread and with the help of a few willing participants I will putting a lift kit in on 1st of August. Has anyone else got any additional do's and don'ts or leasons learnt stories that they can add?
From my limited experience, it depends on what you are fitting and what you've got int the car. I fitted the MD Billie/Lovells and now withe the second battery it has definately sagged. I set the circlip on the middle groove and now need to rip it apart and lift it to the top groove. I'd say if you are using MD and have/planning on 2nd battery, use the top groove because it will settle. If you are fitting HD (which I should have :roll: ), then I guess the middle would do fine???
We did the DIY suspension install yesterday and i am very happy with the results.
before measurements were 715mm at the front and 775mm at the back.
We installed dobinsons springs and lovells gas legend shocks.
immediatly after the install the front was sitting at 815mm and the back at 845mm.
after throwing in the install crew for some ballast and going for a romp over some rough dirt track to get things settled for an hour, the final measure was at 775mm at the front and 840mm at the back.
time taken was just over 2 hours for the front and 45mins for the back with no loss of fingers or even any drawing of blood. top result.
Thanks to the Prado Point crew for providing the destructions, I wouldnt have attempted this myself without seeing how others had done it,
 Tweet
Tweet

Comment